Extract flight path
Workflow
This workflow Extract image information does not require user inputs. This step will be automatically triggered when images are uploaded from web interface, but manually triggered if images directly copied into data storage. In the server side, image information are extracted from all uploaded images including
- Latitude
- Longitude
- Elevation
- Width
- Height
- Capture time
Images without location information are ignored. The images in a single shutter (i.e. the same location) are grouped together (e.g. multiply spectral camera).
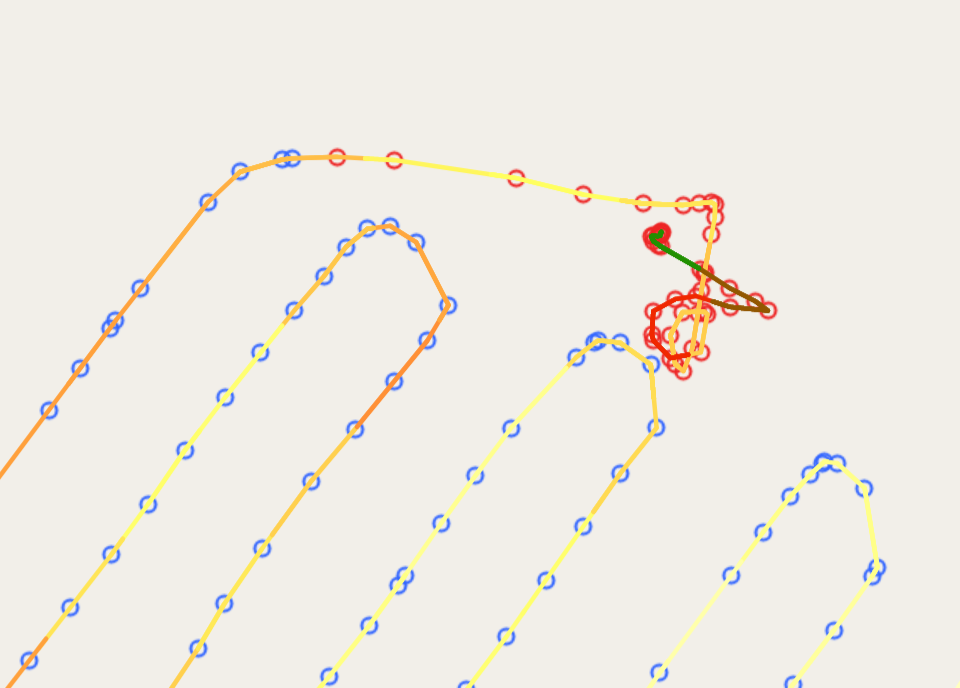
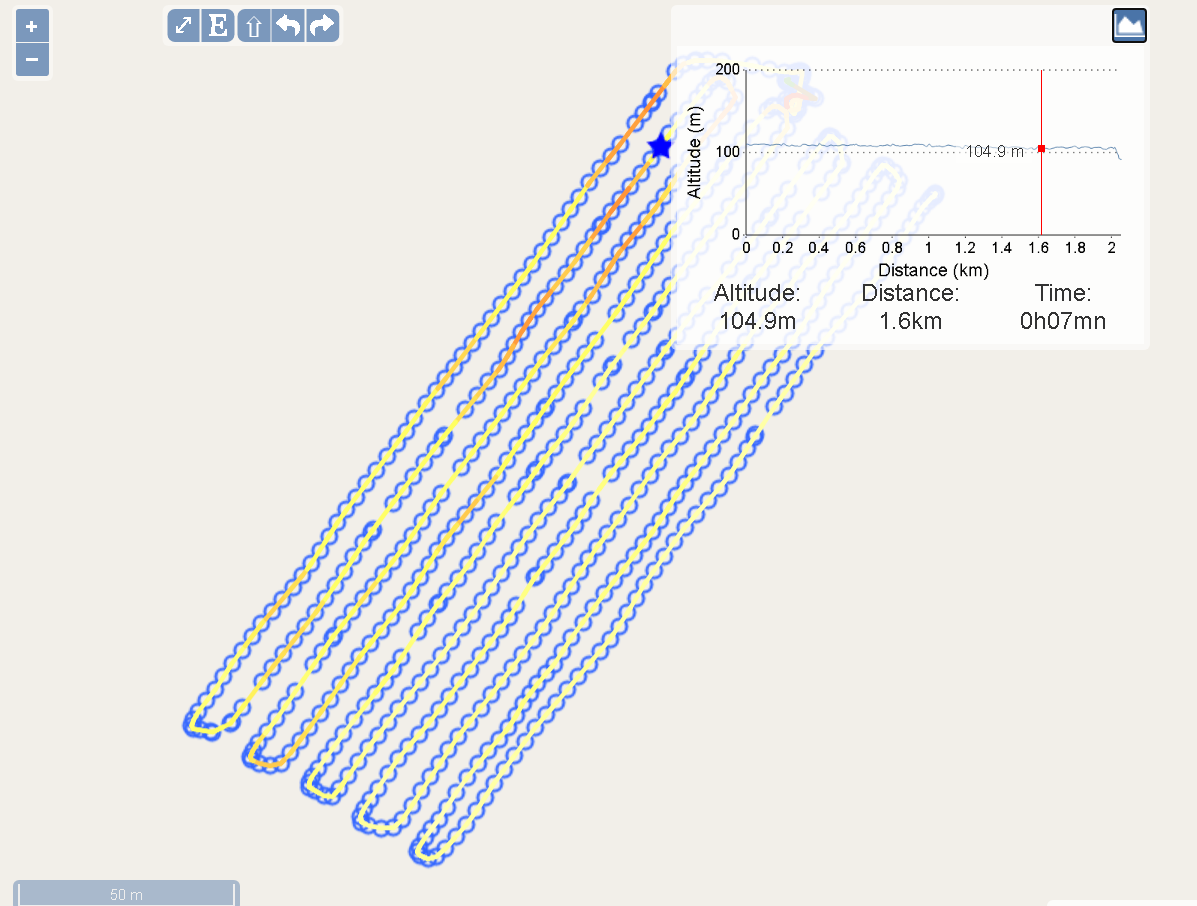
View flight path
The flight path is rendered on the map using openlayers with points for the image locations and line string which is colored by the flight elevation. The flight elevation also is available in the panel at the top right corner. Hovering mouse over the elevation figure shows a star on the map and value of flight height.
View raw images
The raw image is rendered on the map using openlayers through clicking each point on the flight path. Images can be switched if there are multiple image in the same locations. The images are tiled using vips and served with IIPImage for high performance rendering on the web browser.
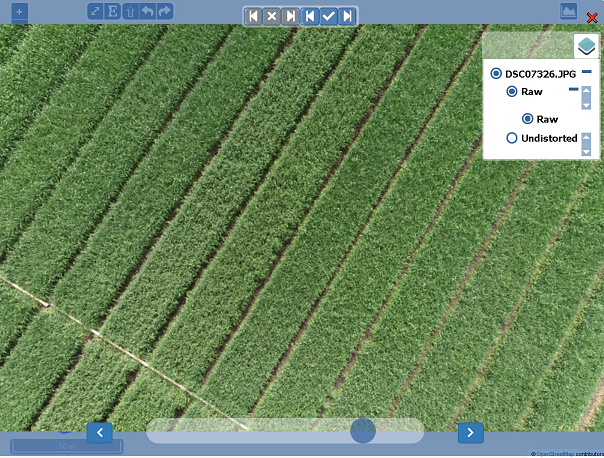
Disable and enable images
Images with bad quality can be disabled for the further analysis at viewing raw images. There are 6 buttons at the top of images to disable/enable images.
- Disable all images before
- Disable this image
- Disable all images after
- Enable all images before
- Enable this image
- Enable all images after