Upload images
After a new flight is created, images captures by UAV can be uploaded into system through the web interface or directly copied into storage by the system administrator.
The system currently supported images with extension below
- jpg
- jpeg
- tif
- tiff
- png
Images can be stored in a single folder or contained in the sub-folder. All sub-folders should not contain any spaces.
Upload through web interface
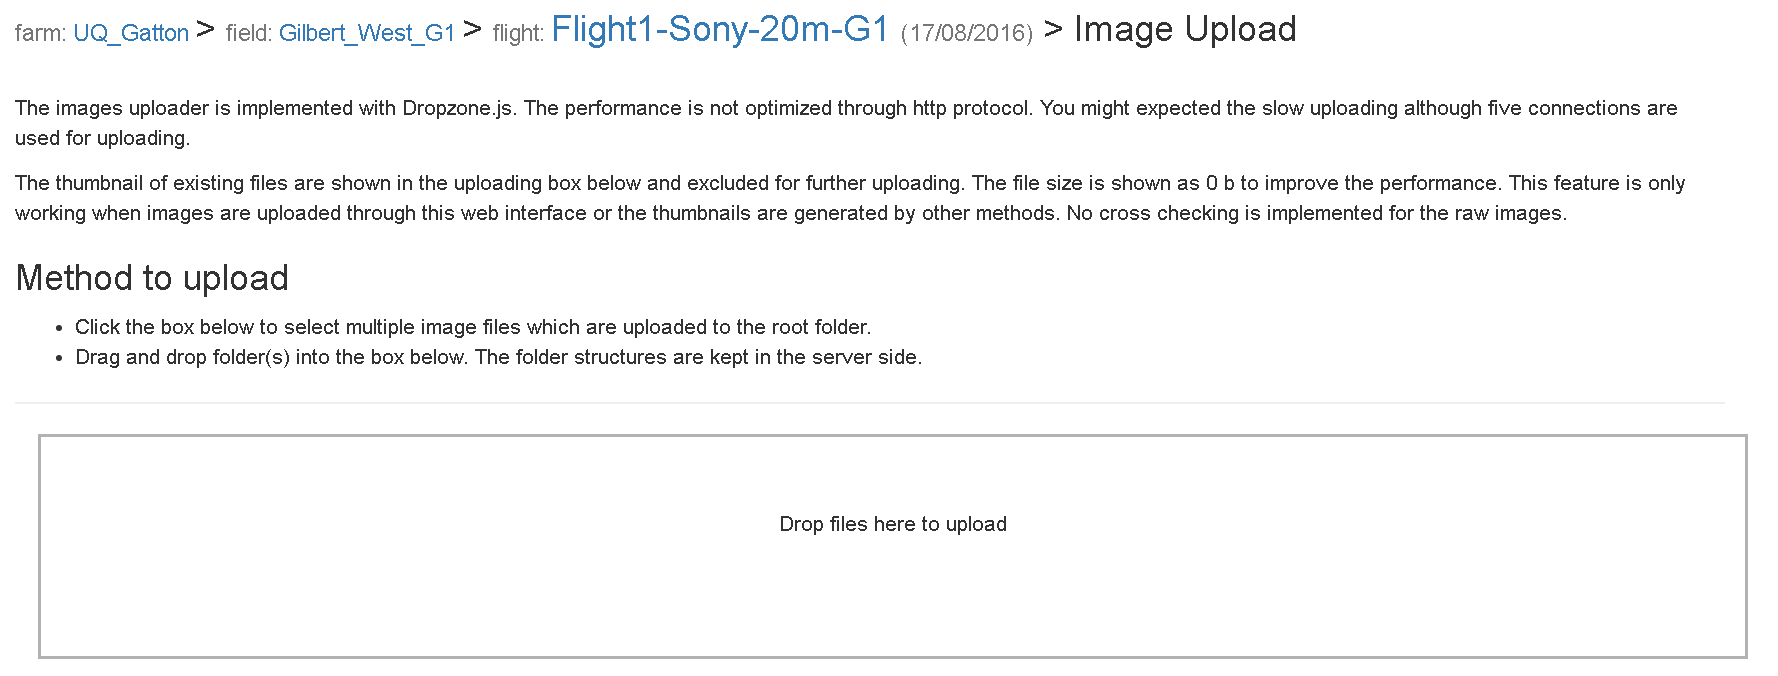
The images uploader is implemented with Dropzone.js. The performance is not optimized through http protocol. You might expected the slow uploading as only two concurrent connections are used for uploading.
The thumbnail of existing files are shown in the uploading box below. The file size is shown as 0 b to improve the performance. The thumbnail is only shown when images are uploaded through the web interface or the thumbnails are generated by other methods.
- Click the box in the upload page to select multiple images which will be uploaded to folder OriginalImages (See below for folder structure). This method only works when all images in a single folder.
- Drag and drop folder(s) or image(s) into the box in the upload page. The folder structures are kept under folder OriginalImages the in the server side. This method is useful when images are stored in the sub-folders.
When the uploading process is failed, the same procedure should be followed to re-upload images. The images with same path/name are excluded for during uploading.
Directly copy to storage
After flight is created, images can directly transfer into the storage when large amount of images are required to upload. The images in the storage are organized using the following structure.
- 📁 <farm name>
- 📁 <field name>
- 📁 <flight date> with yyyy-mm-dd format (e.g. 2020-07-20)
- 📁 <flight name>
- 📁 OriginalImages
- 📁 <flight name>
- 📁 <flight date> with yyyy-mm-dd format (e.g. 2020-07-20)
- 📁 <field name>
The <farm name>, <field name>,<flight date> and <flight name> should be replaced with the real values after flight is created.
The practical way is to organize your images in the folder structure, then contact system administrator to share your images with online storage or hard drive.
Workflow
The workflow Upload Images is automatically set as Finish status if all images are uploaded through web interface and when all images are uploaded. The next workflow Extract image information is also automatically triggered.
However, users have to manually click Mark as Finish in the workflow page to Start next workflow.